Showing posts with label DIY. Show all posts

11.04.2014

Autumn Dinner Party


Remember this gourd wreath I made?  Well over at Violets & Laurel we made it our centerpiece for our Autumn dinner party.  Head over there to see all the details and for other great events we put on.

Also,

&

xo
Erin


10.13.2014

DIY Gourd Wreath

I love decorating this time of year, especially with all the gourds and mini pumpkins you can get from an orchard.  I usually get the gourds and set them on the deck railings or up the stairs but this year I wanted to try something a little different and make a wreath.
I don't love buying materials for DIY projects and tend to make due with what I have on hand, so instead of buying a wreath base I made it all from ivy in the yard.

Items You Need:
 (Giant Dog Not Needed)

Ivy - I used some that was growing up trees in my front yard, I know one kind was English Ivy but I'm not sure what the other type of ivy I grabbed was.  Although, I know it wasn't poisonous, so don't be grabbing any poison oak.  Any branch or ivy (non-poisonous) that is bending will probably work for this.

Wire - I used some floral wire I had on hand. Most any wire will do.

Scissors - or wire cutter

Gourds and/or Mini Pumpkins
Start by making one of the ivy branches into a circle and then secure and then continue to add ivy branches until it looks like a full wreath.  Secure each main branch as you go and I tucked the off shooting branches in where they fit so they didn't stick out everywhere.
Then lay out where you want your gourds and/or mini pumpkins before you start securing so you get the look you want.
Now start securing the gourds and pumpkins to the wreath with your wire.  This is the hardest part.  I have no great way to do this.  A little tip though is to know which way is up when you will be hanging your wreath and wire according to which way gravity will be pulling.

And viola, hang your gourd wreath!

I love how it looks and adds more interest then just setting some gourds on my deck railings.

xo
Erin
 
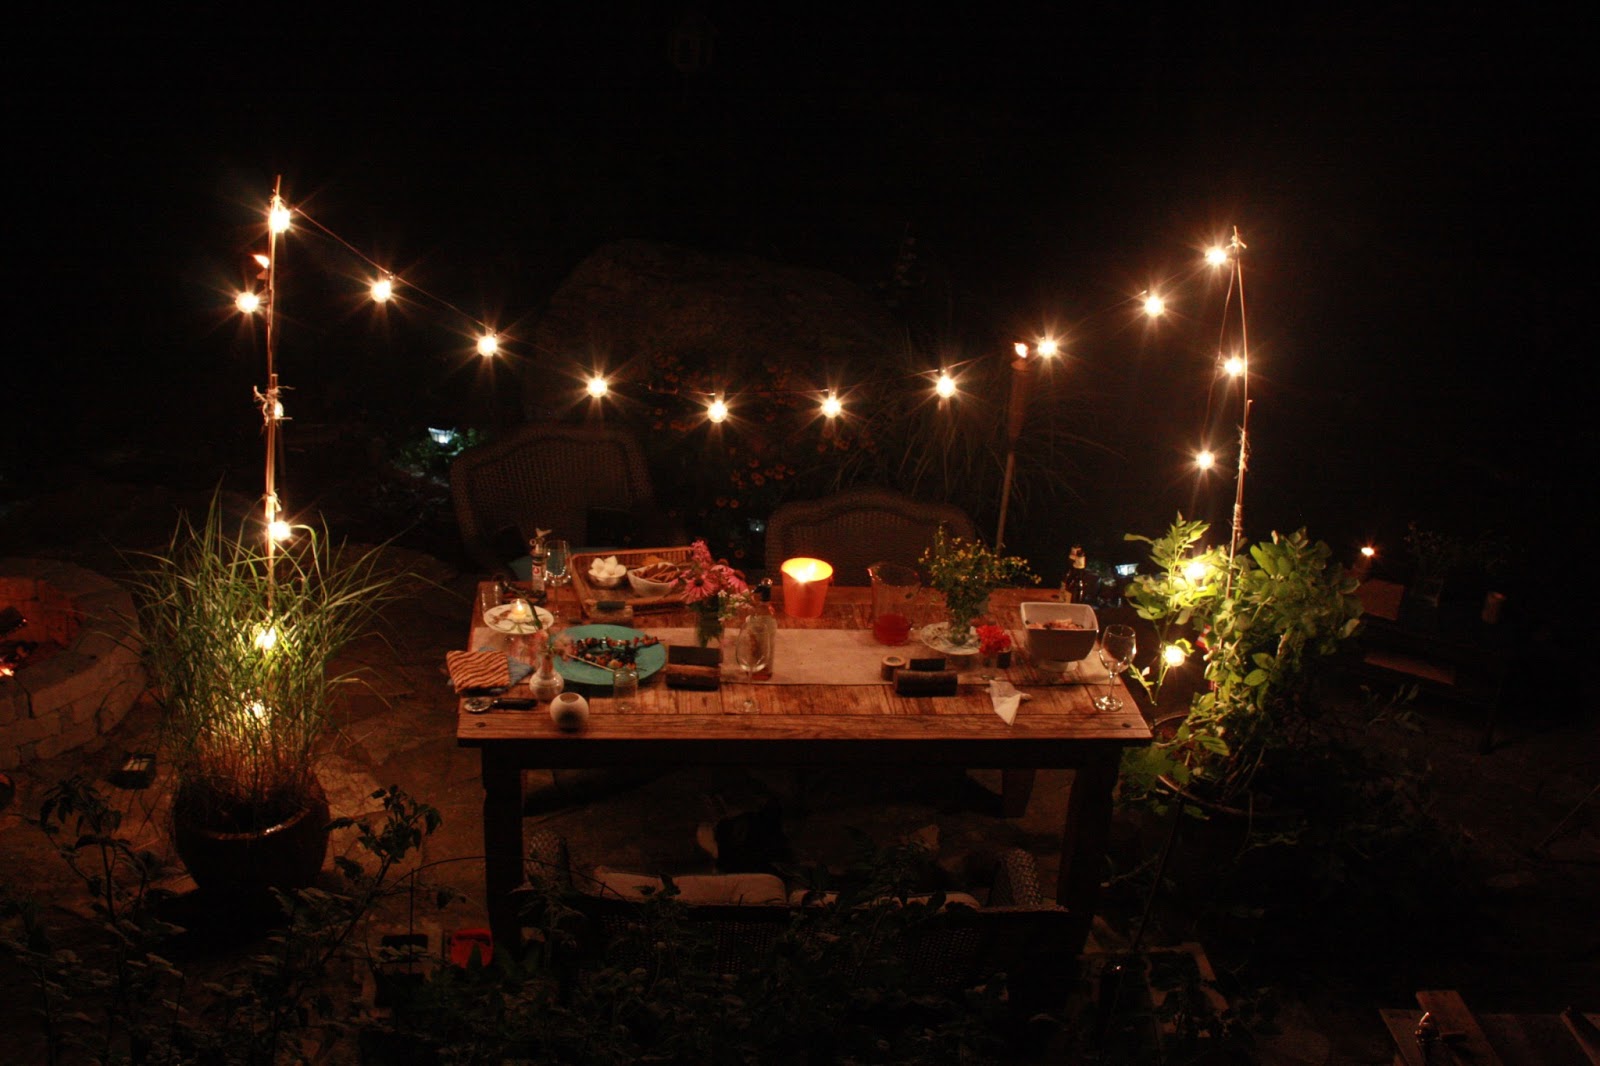
UPDATE:  We made this wreath our centerpiece at an Autumn dinner party here!

5.28.2014

One Month Over At Violets & Laurel!

We've had a great first month over at our Violets & Laurel.  It's been a fun experience developing a blog with Amanda.  Here's a re-cap of what we've posted so far:
We gave our big introduction, explained what our clever name means and what the blog would be about.
We are doing an Etsy Everything series with great things found on Etsy, a website with shops of handmade items.  In May, Amanda found some great Mother's Day cards.  The one pictured here is LittleLow.
We showed a tutorial on how to make fresh flower crowns.
Fashion posts are back!  Amanda shares her spring weekend casuals.
Check out what I did on Memorial Weekend.

Go check us out at Violets & Laurel if you haven't already!  
We would love to hear from you over there!

xo 
Erin

9.05.2013

Patio and DIY Grill

We have this tradition of sorts of when I go away or am not home for a night +, Ryan builds something.  He says he does it when I'm gone because I can't tell him no.  So a couple years ago, I flew to WI for a week and came back to this amazing patio in our backyard.  He built the fire pit on the patio when I was in Boston for one night.  I sure am a lucky gal.
Our grill is a big part of our patio.  This version seen here is Ryan's fourth design.  It's all just part of his process.  He made this grill built in all out of pallets.  He included ample counter space (something the earlier versions didn't have) and space for our bonfire wood.  He also created a wooded plank for the footing in front of the grill.  It all really does fit nicely on our patio.
See a dinner party on our patio here
See all of our deck pallet furniture here.
A transformation of our deck benches here.

I'm enjoying the last days of summer, on our patio of course!
Are you?

xo
Erin

7.24.2013

We Threw A Dinner Party


I've always wanted to throw an outdoor dinner party so Amanda from Amanda Louise and I got together and made that dream happen!  We really tried to use everything we already owned for this event to make it budget friendly.  Ryan and I used our table from inside and drug it out to the patio and for the seating we used our wicker patio furniture.  Amanda did invest in these two strands of outdoor bulb lights.  I loved them so much I think we will have to invest in some outdoor lighting strands.
Ryan had this genius idea of filling our cinder blocks with ice to chill our wine and other beverages. 
I picked up these floral/botany plates from a thrift store along with some glass candler holders; flipped the candle holders over and glued them to the bottom center of the plates.  We used them to hold food, flowers and candles.
Ryan made us some place-card holders by cutting a slit into some scrap wood.
It was more fun than I imagined it would be!

I will be posting all the Allergy-Free recipes of the night here at Visibly Moved over the next couple weeks:

and

Amanda will be posting the vegetarian recipes over at Amanda Louise.

Check out our inspiration board of the night here
and more of our yard here.

If any of you have thrown a dinner party and blogged about it, I would love for you to put the link in the comments below so I can check it out!

xo
Erin
 
***UPDATE:  Check out our Autumn Dinner Party!***

7.11.2013

DIY: Pallet Deck Furniture

 Here are some more ways on how to jazz up your deck with pallet wood just like I promised!
My husband acquired a few free pallets and went to work.
Above he put his pallet wall below our deck stairs.
A chess board was next and then below, a planter bench.
 One more bench below!
Presto! Our deck is so much more fun with all our new pallet furniture!

See our DIY Pallet Grill here.
Check out our bright benches here.
See our Autumn dinner party on the deck.
View a dinner party on our patio here.
See more of our yard.

xo 
Erin

7.03.2013

DIY: Brighten Up A Bench

Our house came with the bench above and we later bought a bench on sale.  I soon found myself with two very weathered benches that were never used.  In an effort to jazz up our deck I took on the project of redoing our benches.  We live in the middle of the forest with a brown deck so I knew I needed a pop of color on these guys.  I had my handy husband take them apart for me, sanded them a bit and used primer spray paint. After priming the wood of the benches I put a couple coats of this nice bright color on with outdoor spray paint and put them back together.
I couldn't be happier with the results.  These benches have instantly livened up our deck and created an area where Ryan and I play outdoor chess and relax.

More ways to jazz up your deck with pallet wood here!

xo
Erin